
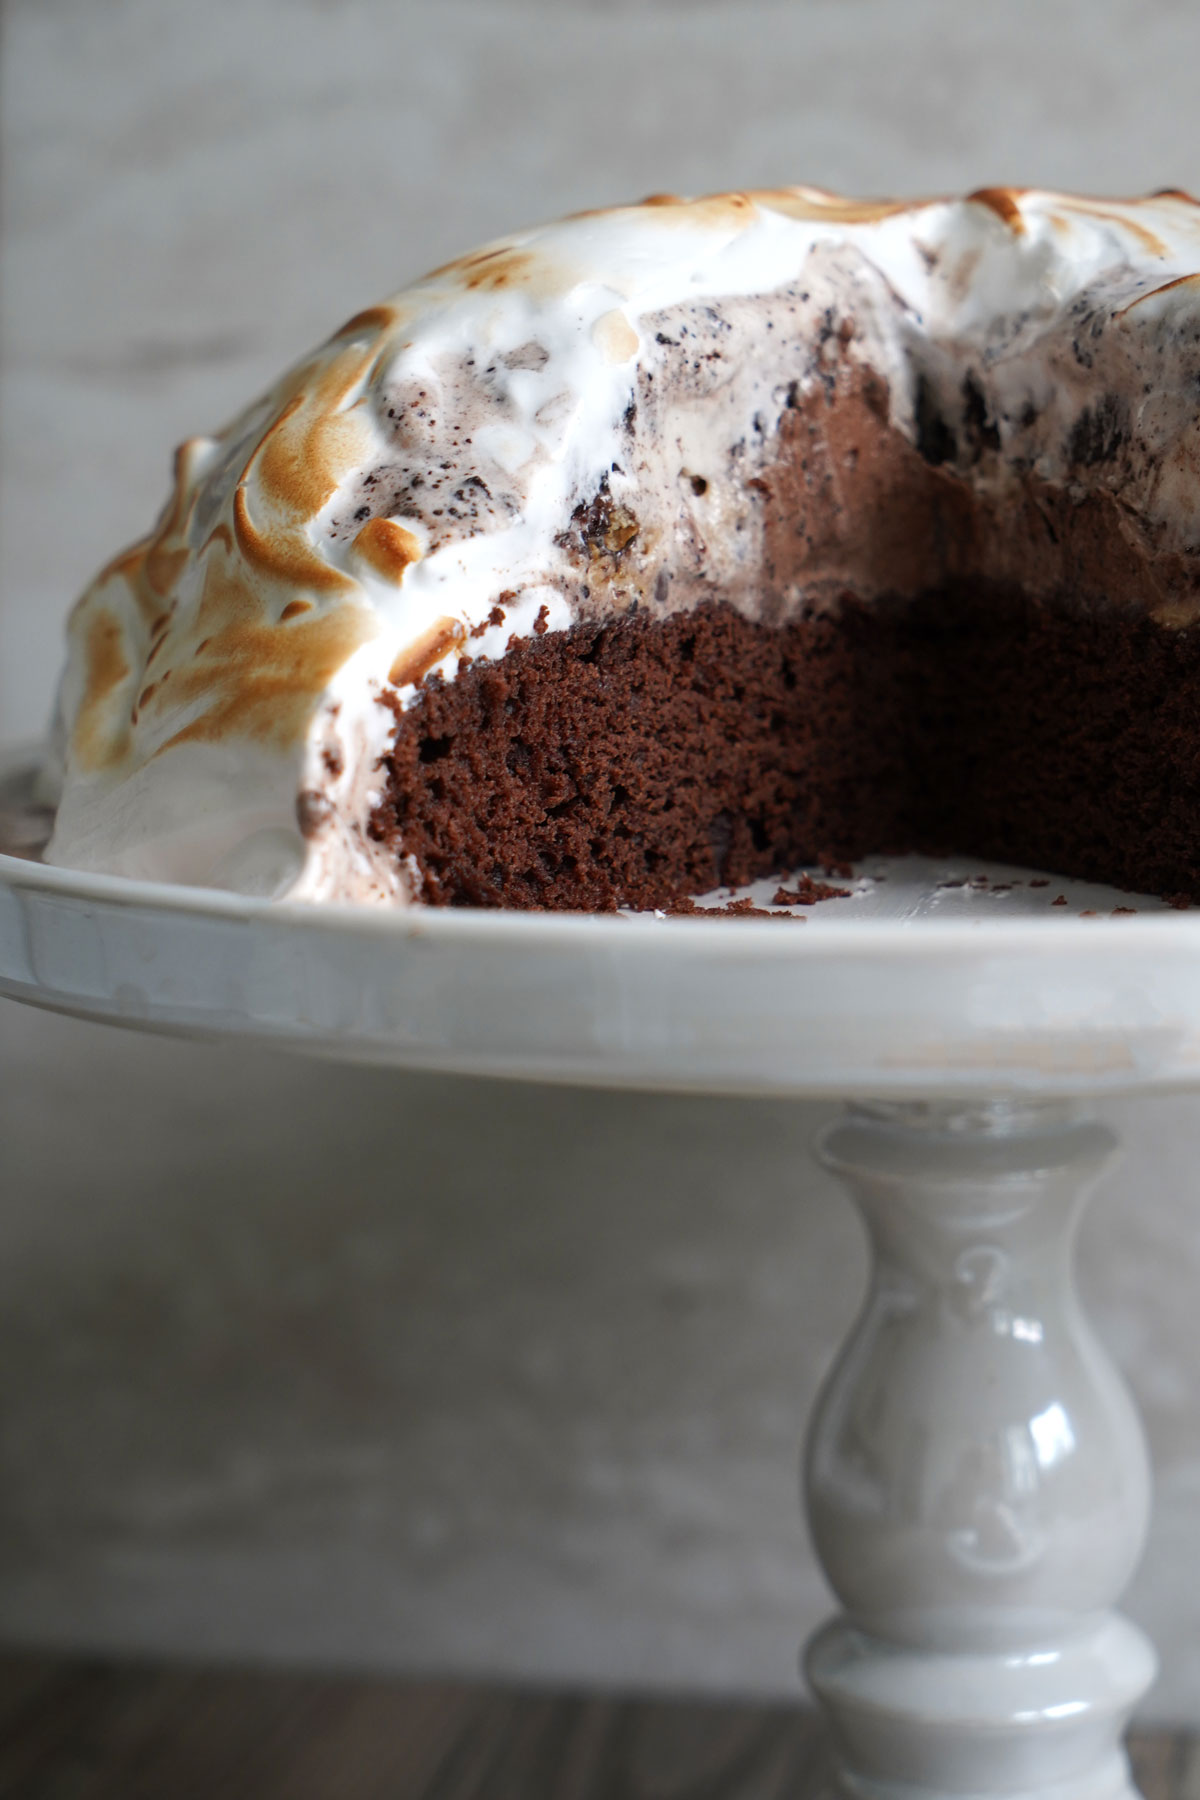
If you've never made Baked Alaska before, you're in for a treat: cake, ice cream, and toasted meringue coming together in a dessert that looks fancy enough to impress guests yet is surprisingly easy to pull off.
What is Baked Alaska?
Baked Alaska is essentially an ice cream cake covered with a toasted meringue. It was given this name by a chef at a New York restaurant in reference to the United States acquiring Alaska.
This frozen treat looks complicated and it can be if you are making a special cake flavor or churning your own ice cream. But if you keep the cake a simple vanilla or chocolate cake and use store bought ice cream, it's actually quite easy.
You can even skip the cake baking part of the recipe and use a store bought cake. Check the notes down in the recipe card for details.
Ingredients needed for Baked Alaska (with chocolate cake base)
For the cake layer: Gather basic cake ingredients: all purpose flour, baking powder, baking soda, vanilla extract, unsalted butter, and sugar. Since it is a chocolate cake, you will also need cocoa powder, sour cream (keeps it moist) and brewed coffee (enhances chocolate flavor)
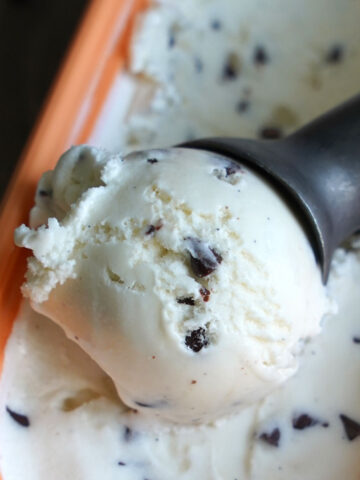
For the Ice Cream Layer: Many baked Alaskas use three different flavors with contrasting colors. A classic contrasting combo would be vanilla, chocolate and strawberry. It's really up to you! The total volume is about 2-3 pints of ice cream. It could be more depending on the shape of your mold. Keep reading to see how to plan.
For the Meringue: You will need egg whites and cream of tartar, which is a stabilizing agent to keep your meringue together.
How to Make and Assemble a Baked Alaska
Plan Ahead:
Though it's easy, a little planning is required. Baked Alaska is a frozen dessert and because the big wow factor is the toasted meringue top, you should plan to toast the top close to serving it.
Before starting, you also need to consider the shape of the cake. The shape of the cake will roughly look like the shape of the bowl used for freezing the ice cream. This is why the exact amount of ice cream can vary. I used two pints for an eight inch cake, giving me a satisfying ice cream to cake ratio.
Here is how I checked and visualized it:
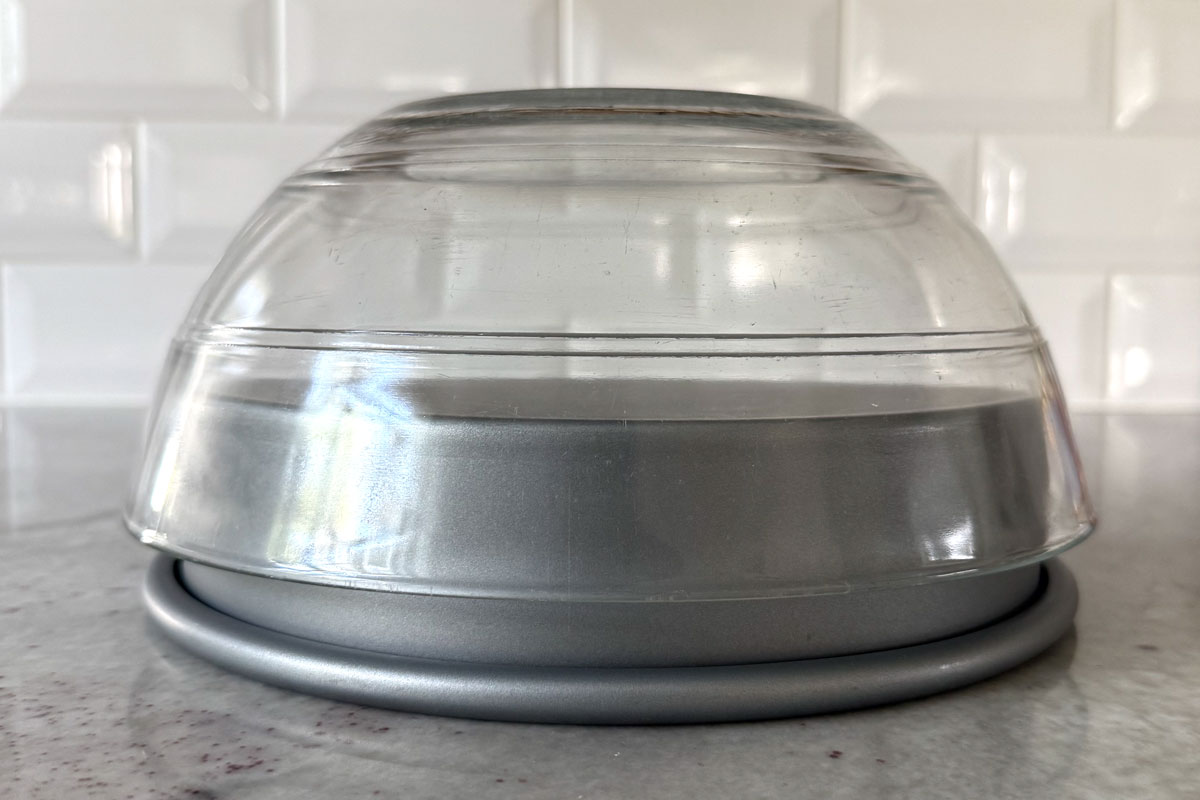
I used a round bowl for my ice cream mold and a round pan for my cake. And once filled with two pints, the diameter of the top of the ice cream was roughly the size of my cake pan. (You can check by filling the bowl with 2 pints of water first and checking the width at the point of the fill line) Keep in mind you can also make it square or rectangular! Be creative.
Prepare the Ice Cream and Make the Cake:
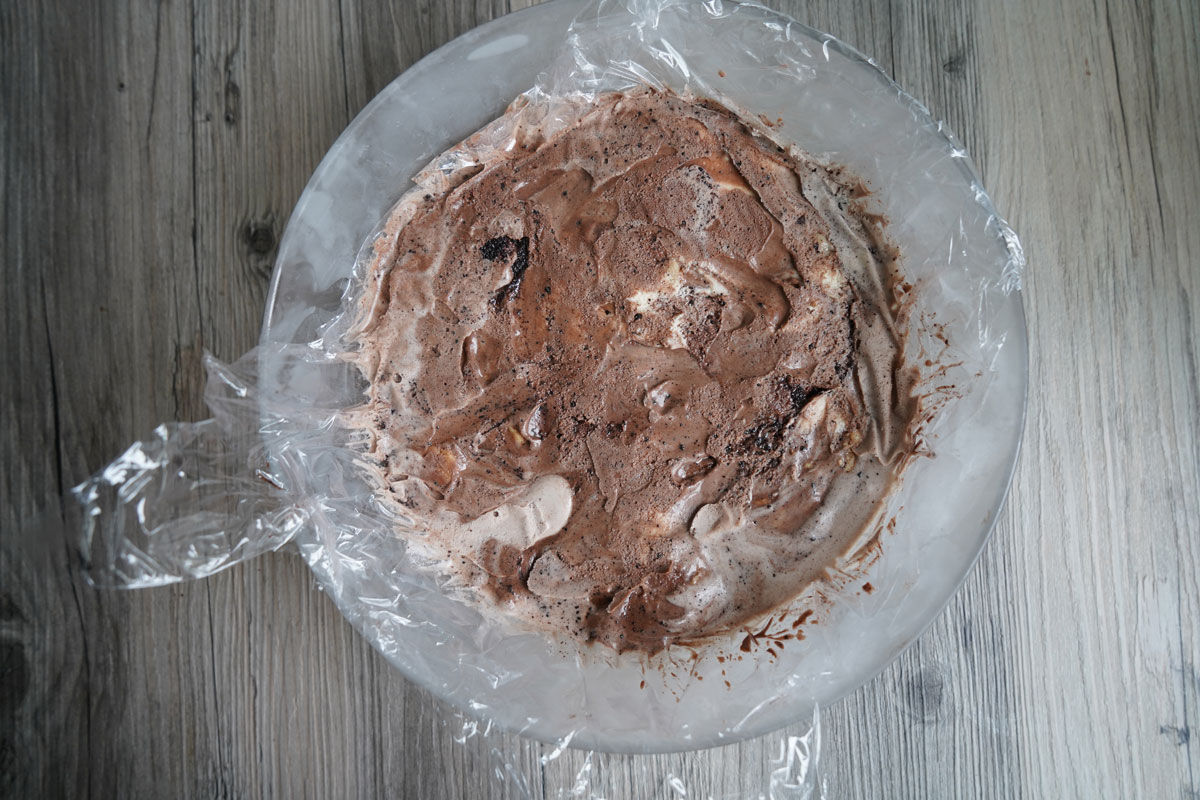
Once you have that figured out, you can fill your bowl or mold with ice cream. The ice cream should be slightly softened so it's easy to scoop. After lining with plastic for easy removal, fill the bowl with alternating scoops of the different flavors, trying not to leave air pockets. Smooth it down with the back of a spatula.
Let the ice cream harden in the freezer for at least two hours. It needs to be very firm! In the meantime, you can bake the cake and let it cool.
Make the Meringue:
Whip egg whites with cream of tartar until it gets foamy. Then gradually add sugar while whipping on high speed. Whip until you have stiff peaks.
Assemble:
Turn the hardened ice cream on top of your cake layer and cover the entire ice cream surface with the meringue. You can create swirl patterns with the back of a spoon or use a piping bag with a fancy tip to create patterns.
Carefully un-mold the ice cream over your cake base and spread the meringue all over the ice cream, making sure it is completely covered.
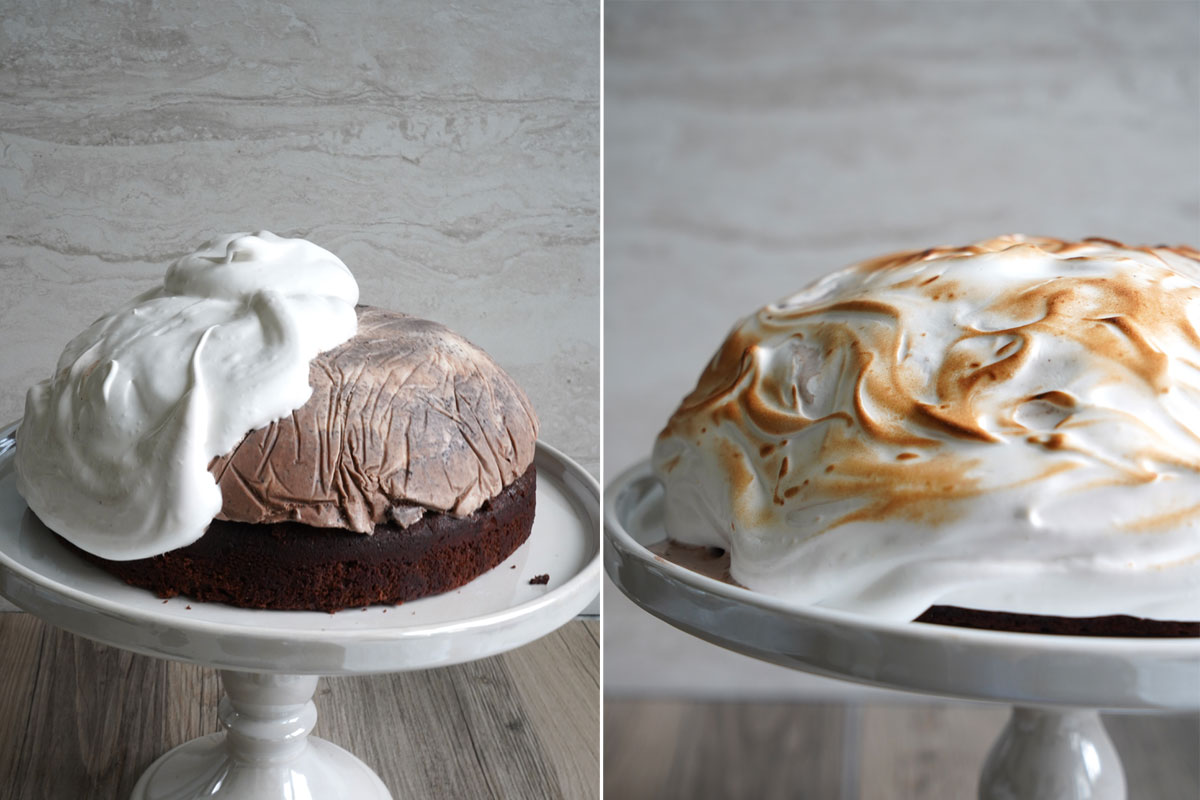
Torch or Bake:
Using a kitchen torch, toast the meringue, working quickly and applying evenly all over.
You can also place it under your oven broiler. Details are in the recipe card notes.
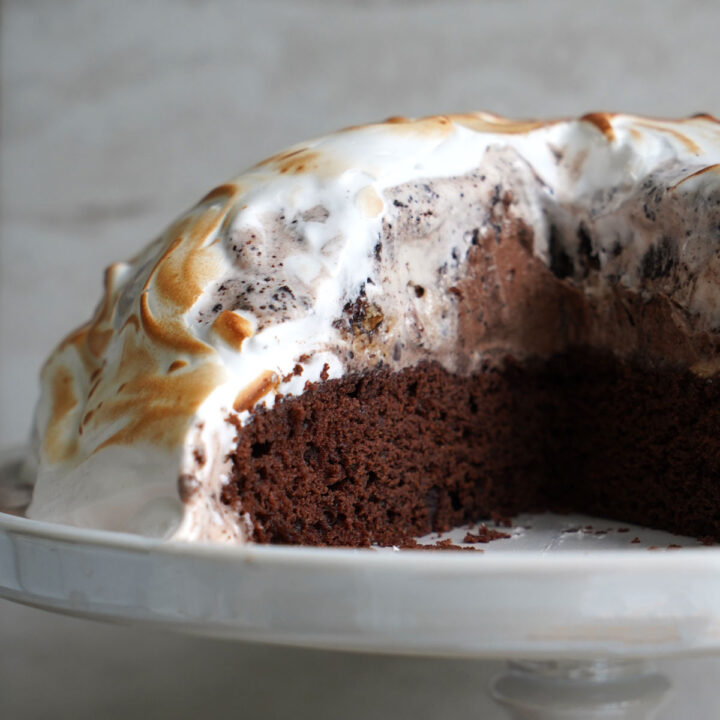
How Does the Ice Cream Not Melt?
The ice cream will not melt in a baked Alaska because it is insulated by the meringue and the cake layer on the bottom. You must also make sure that the ice cream is completely solid before you assemble. This will also keep it from melting and causing the meringue to slide off.
Storing
To store baked Alaska after it's been torched, wrap tightly in plastic or store in an airtight container for up to one month. You can also store it in the freezer before baking or torching for up to two days. Store it uncovered so you don't ruin your meringue swirls or piping.
Baked Alaska
Baked Alaska: cake, ice cream, and toasted meringue coming together in a dessert that looks fancy yet is surprisingly easy to pull off.
Ingredients
- 2 pints ice cream
For the Cake:
- 4 ounces all purpose flour
- 1 ½ ounces cocoa powder
- ¾ teaspoon baking powder
- ¼ teaspoon baking soda
- ¼ teaspoon salt
- 1 teaspoon vanilla extract
- ⅓ cup butter
- ⅔ cup sugar
- 1 egg
- ⅓ cup sour cream
- 3 ½ ounces strong coffee, cooled
For the meringue:
- 4 egg whites
- ¼ teaspoon cream of tartar
- ⅔ cup sugar
Instructions
- Spray with cooking spray or oil the inside of an eight inch diameter bowl. Line the inside with plastic wrap. The bowl can be wider than 8 inches but keep in mind that the bowl is the mold for ice cream that sits on top of the 8 inch cake.
- Fill the bowl with alternating scoops of ice cream. Alternatively you can create two layers of ice cream but you will need to freeze one layer before placing the second layer on top if you want distinctive layers.
- Flatten the ice cream so it is smooth on top and cover with plastic wrap. Freeze for several hours or overnight. The ice cream needs to be rock solid!
- Preset the oven to 350°F. Butter, line with parchment, an 8 inch cake pan.
- Sift together the flour, cocoa powder, baking soda, baking powder and salt in a large bowl and set aside.
- In an electric mixer, paddle the butter and sugar until light and fluffy. Add the egg and vanilla and mix until incorporated.
- On low speed, alternately add the dry mixture and the sour cream in five total additions starting and ending with the dry mixture. Slowly add the coffee and mix just until the batter becomes smooth.
- Spread the batter into the pan. Bake for 15-20 minutes or until a toothpick placed in the center comes out clean. Unmold and cool on a rack. If you are not assembling the same day, wrap the cooled cake with plastic wrap and store in the refrigerator for one day or freeze for up to one month.
- Place the egg whites in the bowl of a stand mixer with the cream of tartar. Using the whisk, attachment mix on medium to high speed until foamy. Gradually add in the sugar until the mixture thickens and forms stiff peaks.
- To assemble, place the cake layer on a plate. Remove the molded ice cream from the bowl by carefully inverting it onto the cake and removing the plastic. Using a spoon, spread the meringue over the ice cream. You can use the back of the spoon to create a swirled pattern and small peaks.
- Toast the meringue with a kitchen torch to brown the meringue evenly.
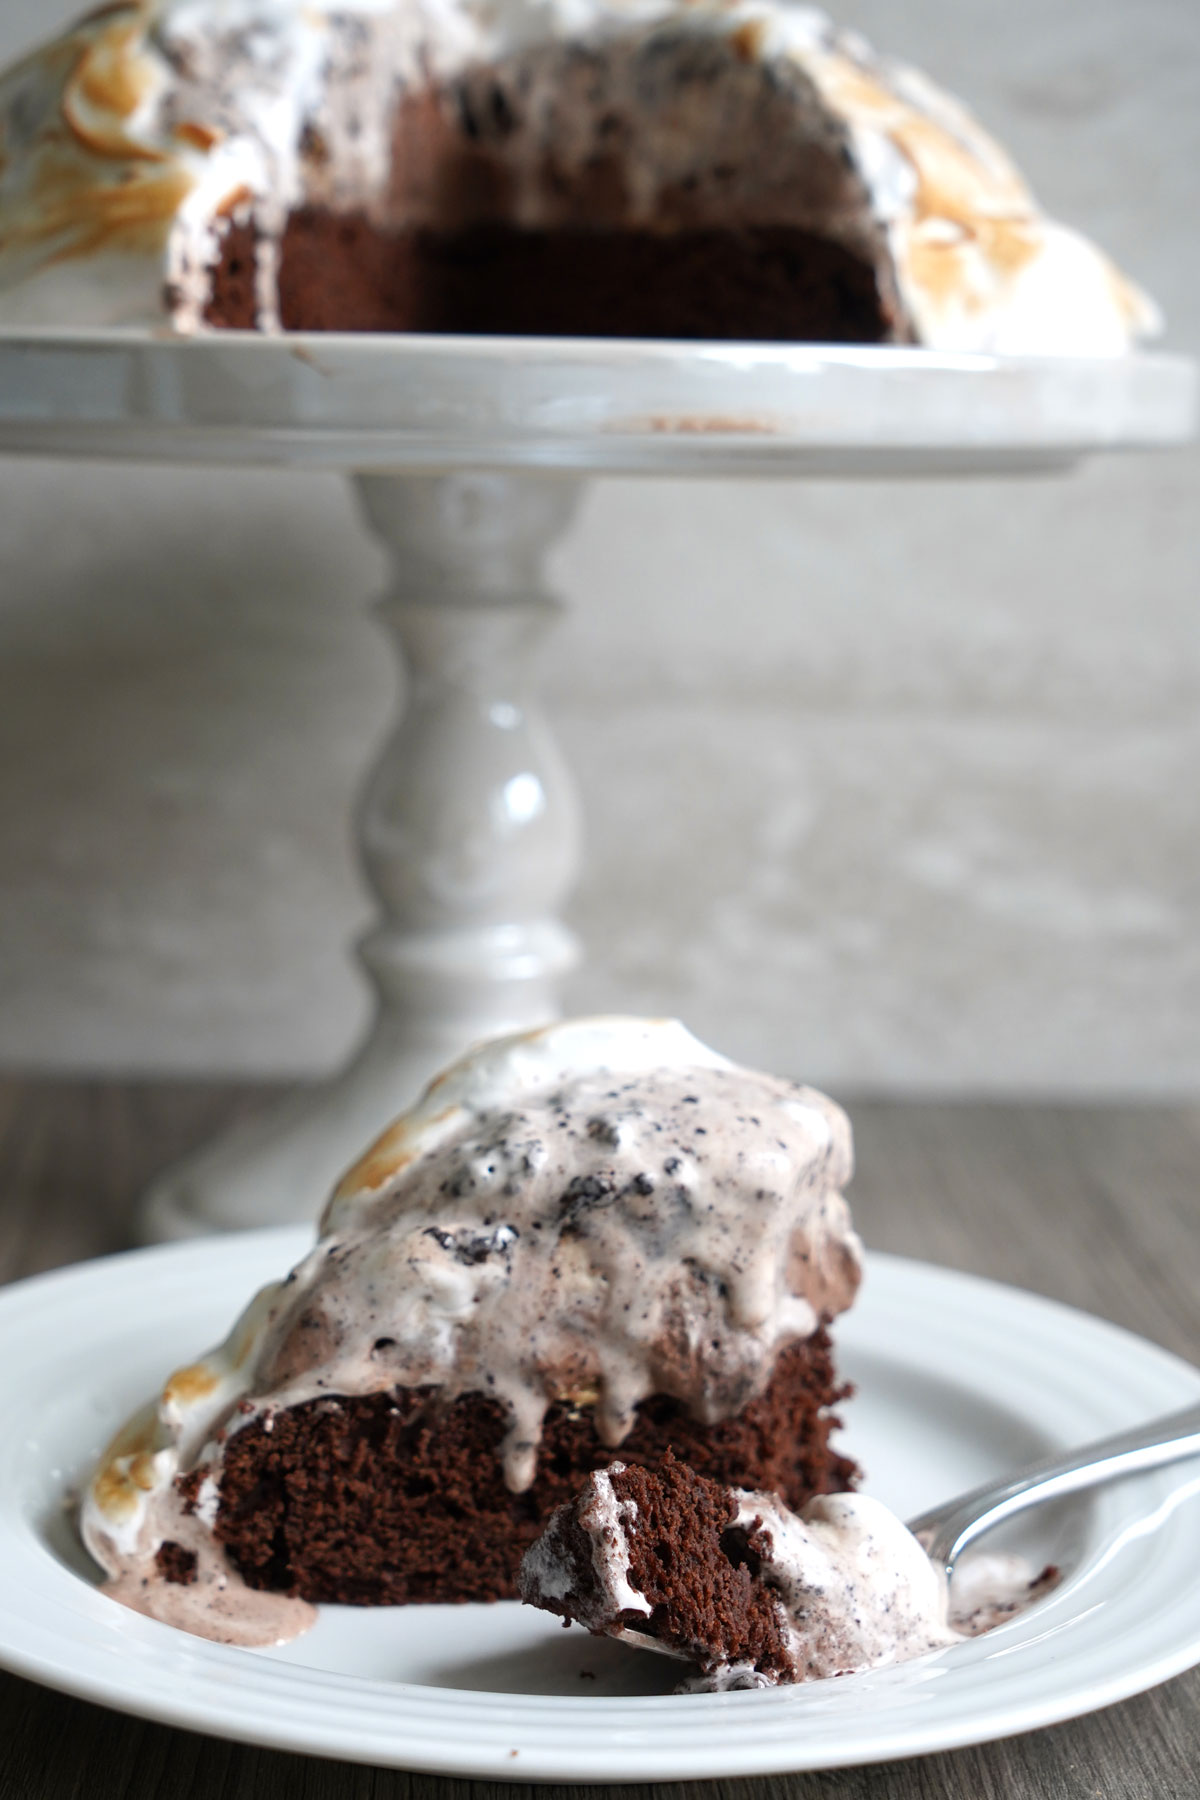
- Slice and serve.
Notes
A store bought cake can be used instead of a homemade cake. Buy a pound cake and cut 1 inch slices. Before freezing the ice cream, place the cake slice on top, covering all the ice cream. Press it down gently, cover with plastic and place the bowl in the freezer. Unmold, and top with the meringue.
To use an oven broiler for toasting, place an oven rack about 10-12 inches from the broiler element, preheat the broiler and line a rimmed baking sheet with aluminum foil before you assemble. Assemble the baked Alaska on the prepared pan and place it on the rack until it browns. Make sure you watch it at all times. It happens fast!
Nutrition Information:
Yield: 12 Serving Size: 1Amount Per Serving: Calories: 297Total Fat: 12gSaturated Fat: 7gTrans Fat: 0gUnsaturated Fat: 4gCholesterol: 52mgSodium: 203mgCarbohydrates: 43gFiber: 1gSugar: 32gProtein: 5g
This nutrition information is only an approximate provided for convenience and as a courtesy only. Information comes from Nutritionix, an automated nutrition calculator.


Comments
No Comments