Nutty and aromatic, browned butter will add depth to your favorite recipes and takes only a few minutes to prepare.
What is Brown Butter?
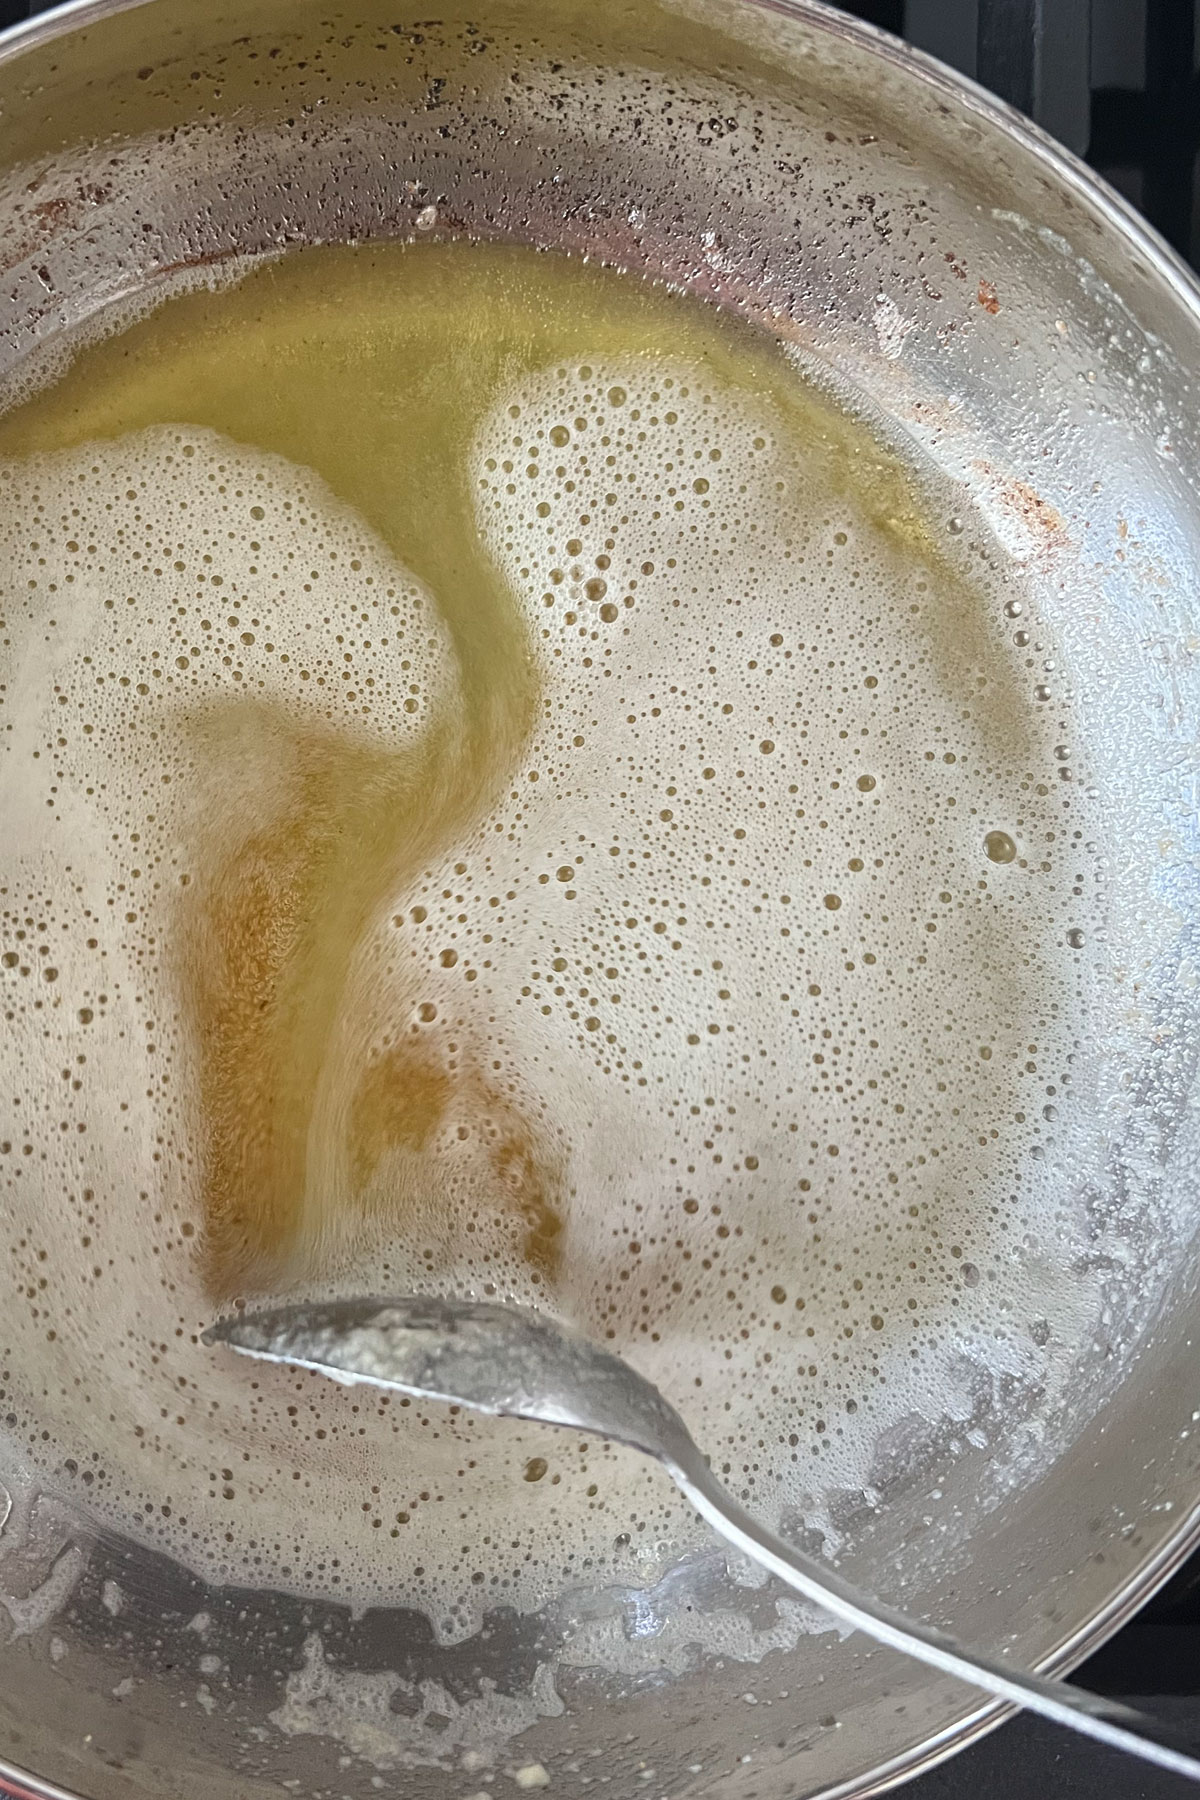
Brown butter is butter that has been heated until the water boils off and the milk solids turn brown, leaving behind a nutty toasty flavor. The French call it buerre noisette (brown butter).
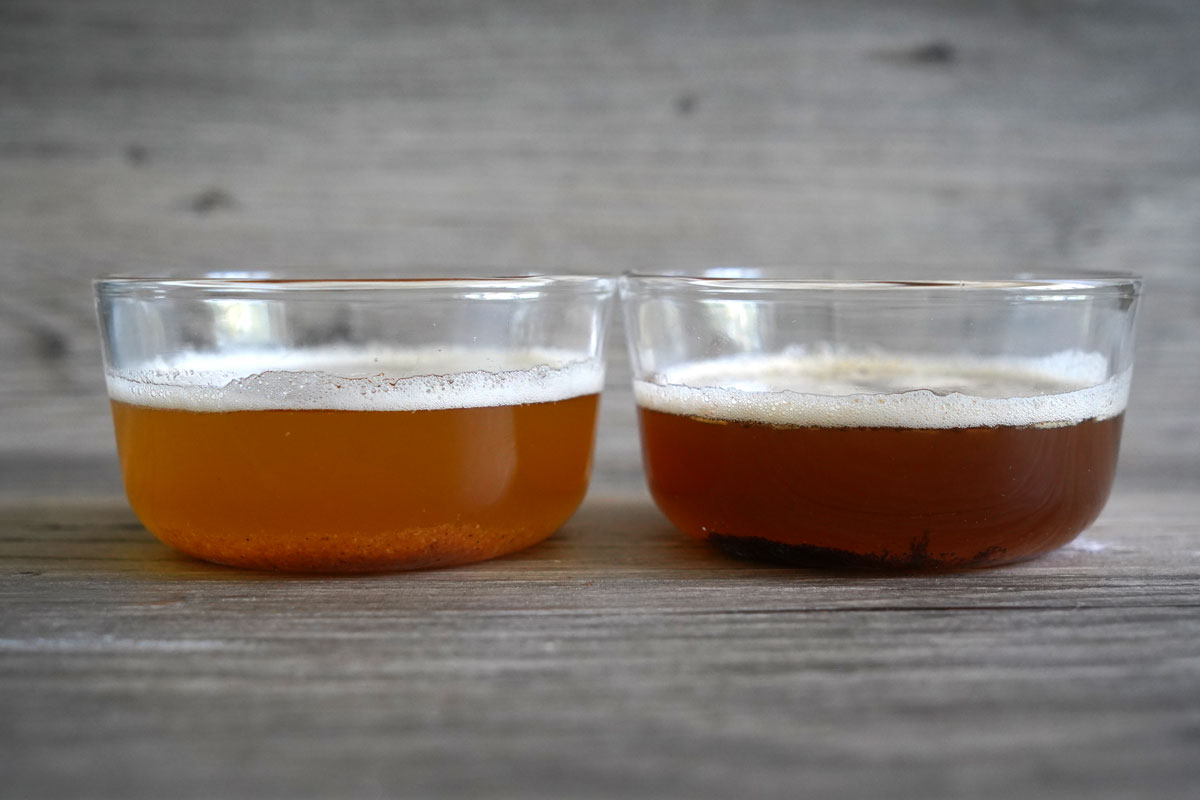
A variation of buerre noisette is buerre noir (black butter) which is cooked further and deeper in color.
What is Brown Butter Used In?
Brown butter can be substituted for regular butter pretty much anywhere. It’s a more powerful flavor that can elevate any food.
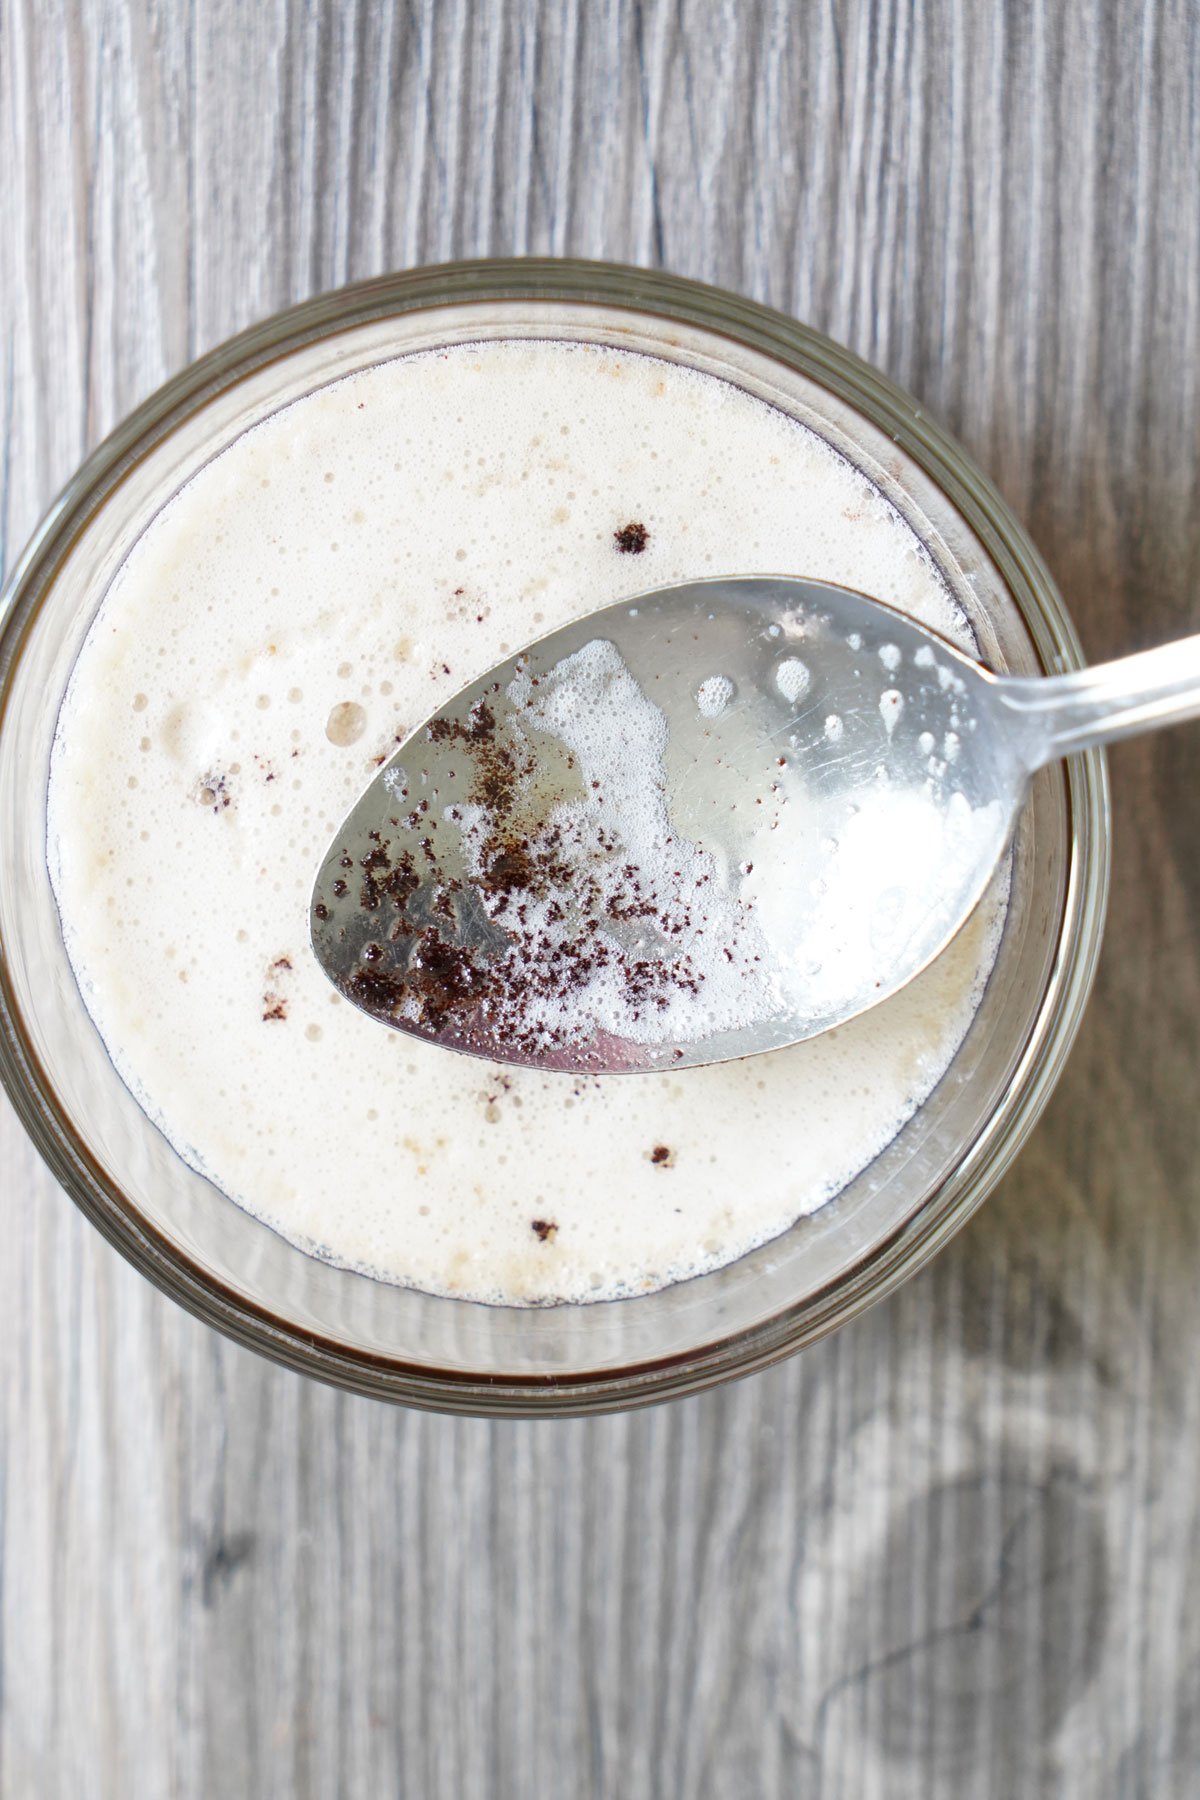
You can spread it on your toast and pancakes, drizzle it over your vegetables, or use it as a pasta sauce.
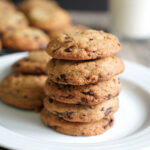
Of course, in my opinion the most delicious way is to use it in your baked goods! So take that favorite chocolate chip cookie or carrot cake recipe up a notch with a bolder flavor. Just follow the instructions in this quick and easy brown butter recipe.
What You Need
Butter: Use unsalted or salted depending on your use of the butter. For spreading over toast, scones or biscuits, use salted butter. If baking with it, I would use unsalted so you can control the amount of salt in your recipe.
Skillet with a light colored bottom: This will help you see the color of the butter better as it cooks so you know when it’s done.
Heat proof rubber spatula: You will need to constantly stir. You can use a whisk, rubber whisk, or even a large spoon. Anything heat proof will do.
Heat proof bowl: Have a heat proof bowl or container ready by the stove top for transferring the butter.
Steps to Make Brown Butter
Start by cutting up your butter into small equal sized pieces. This will help the butter melt quickly and cook evenly. Spread the pieces over the bottom of a light colored pan!
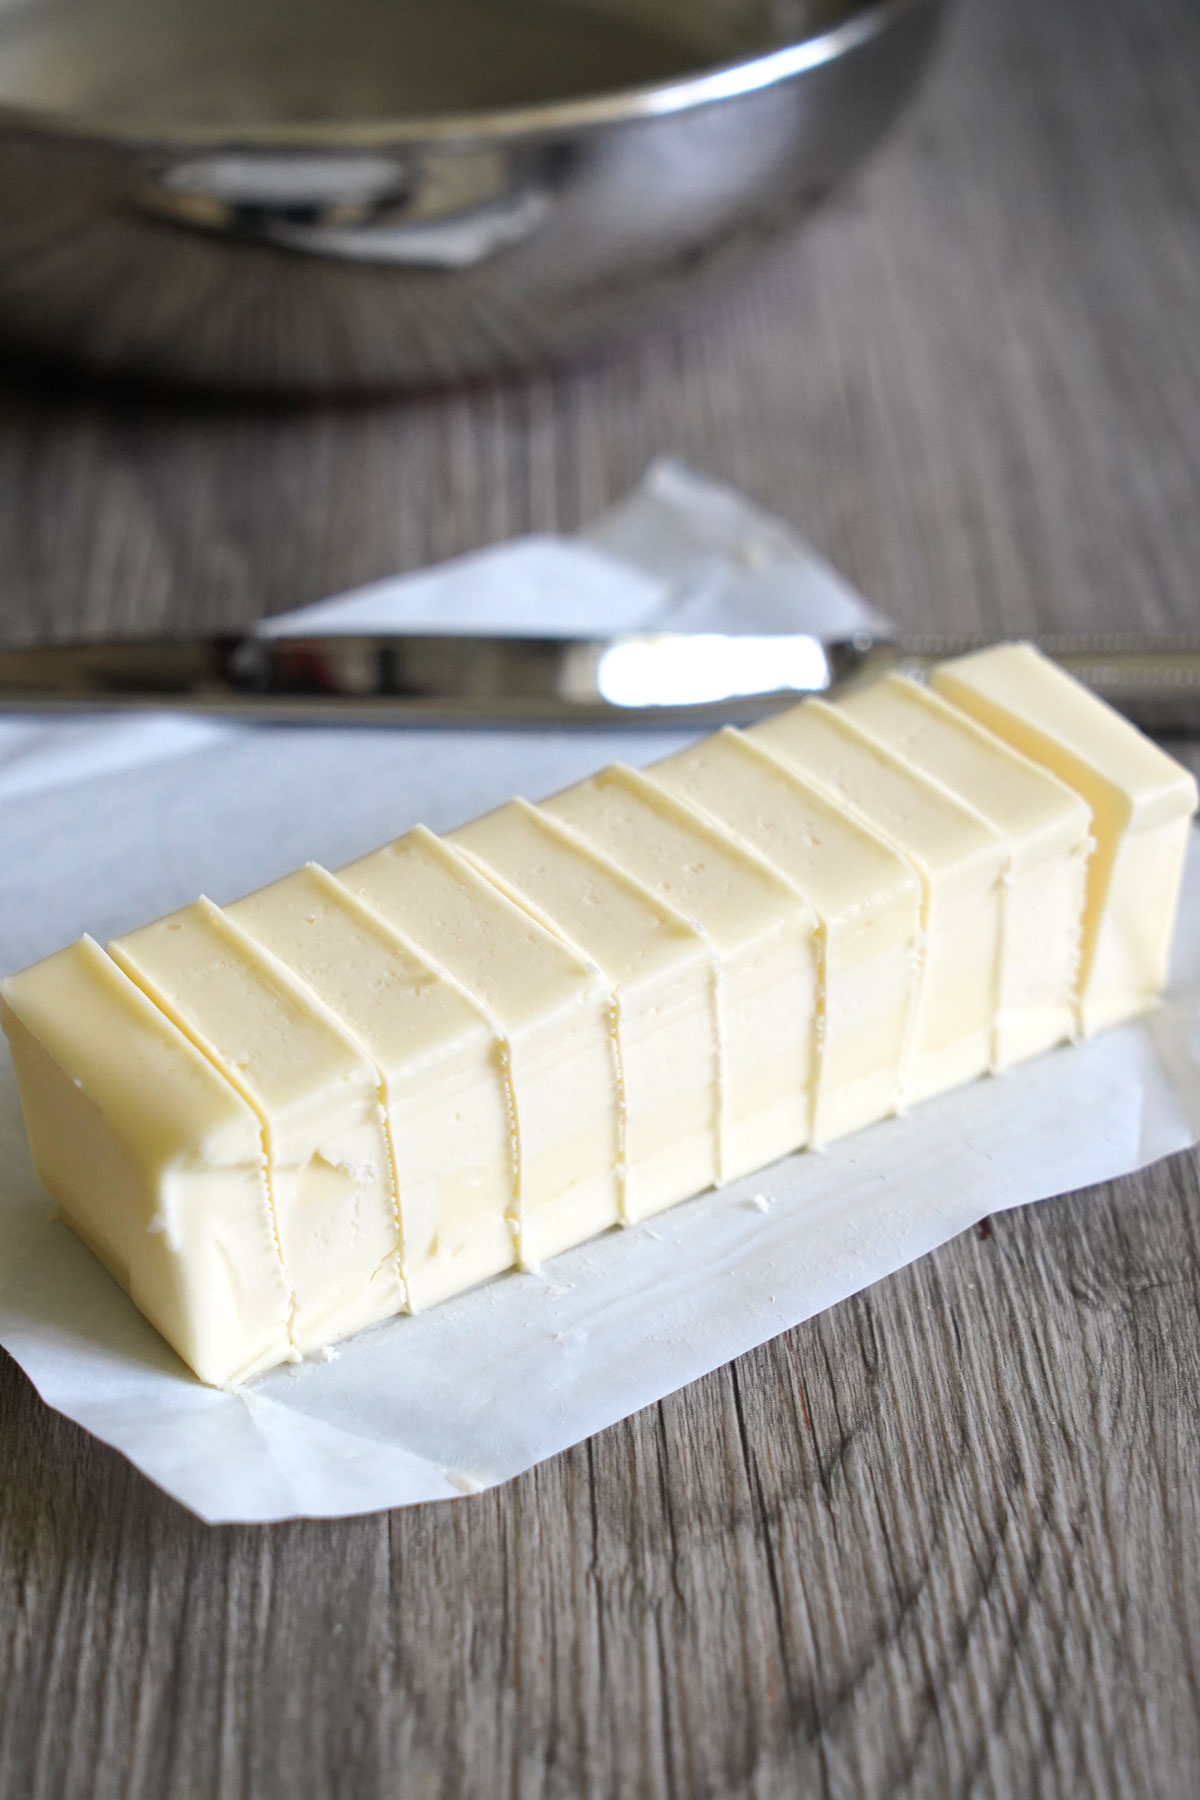
You can use a dark non-stick pan if that’s all you have but it’s difficult to see the color of the butter. Color observation is essential to knowing when the butter is done browning.
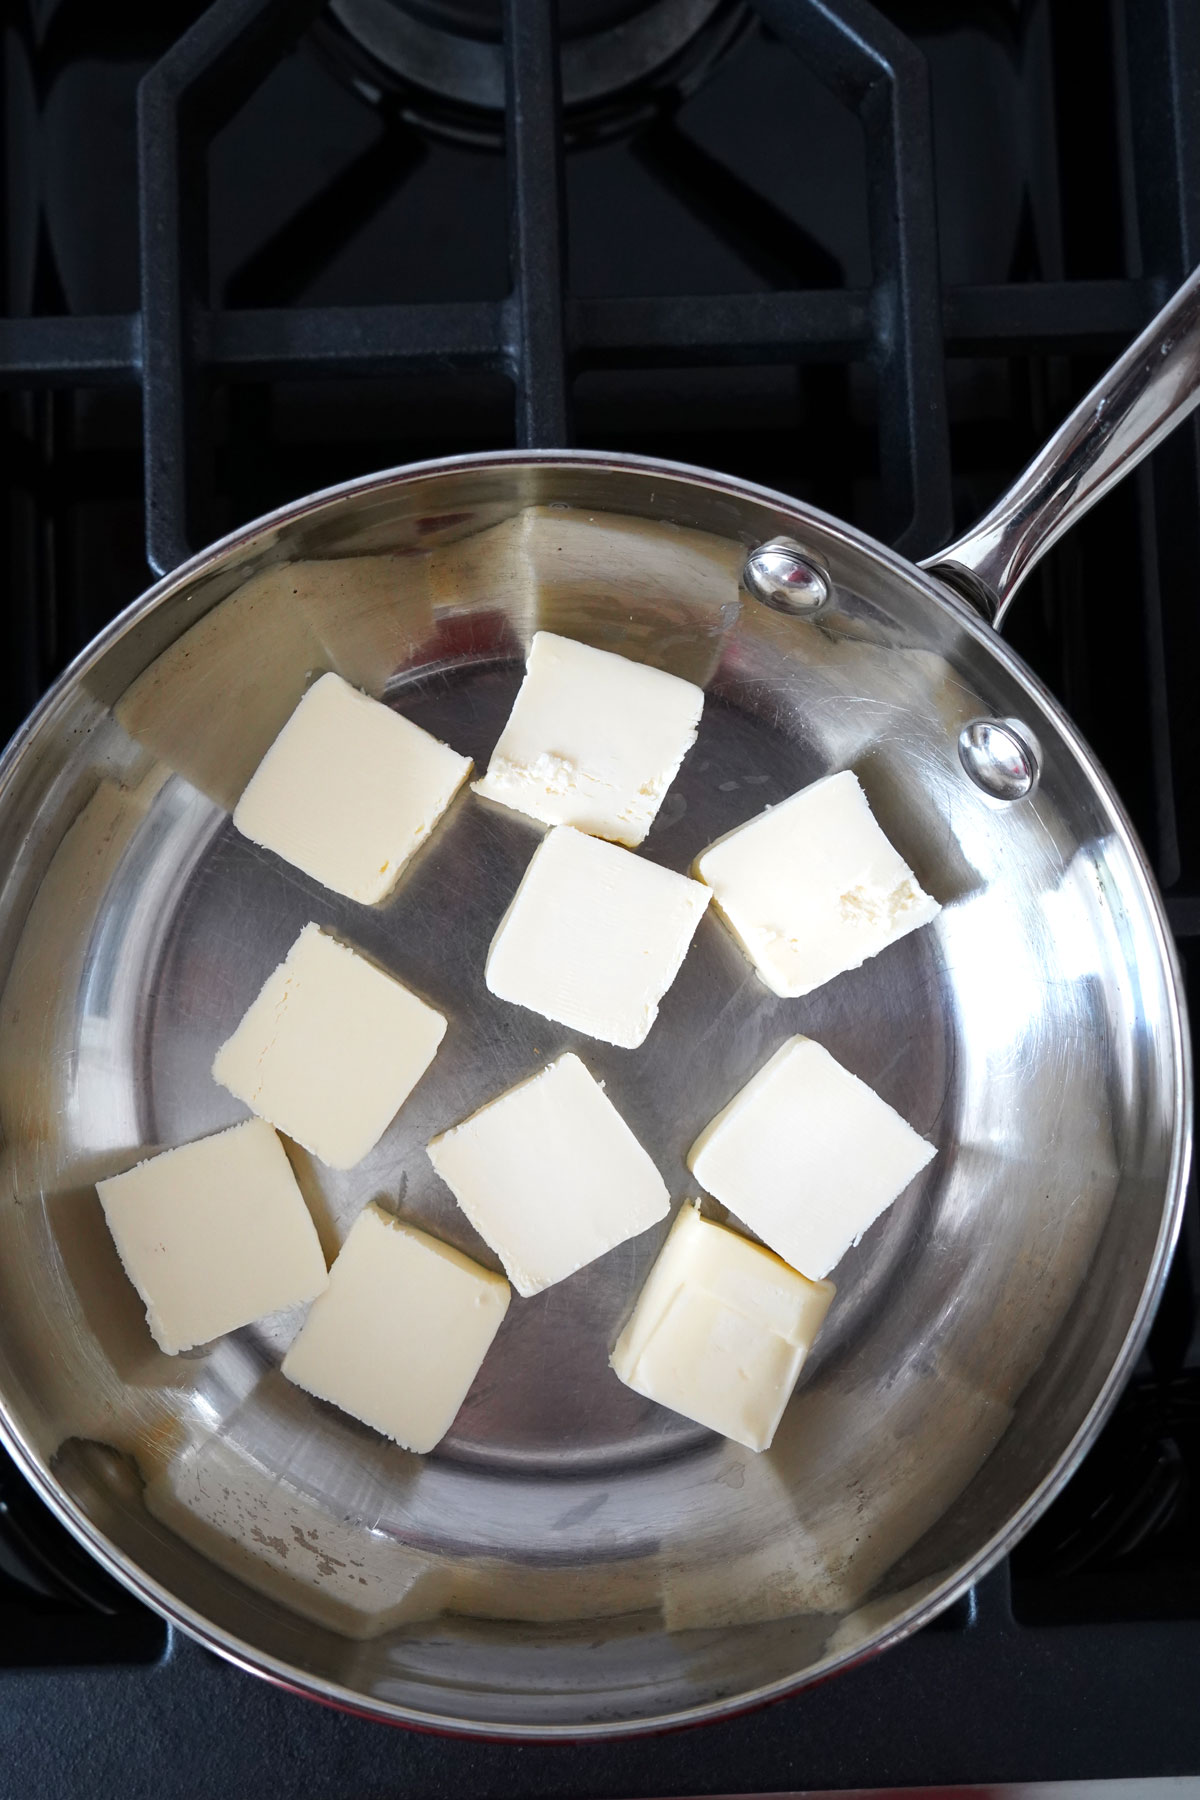
Keep the heat at a medium level and if this is your first time, I’d keep the heat at a low/medium. Once the butter melts it will start to boil then get foamy at the top. Keep stirring the entire time.
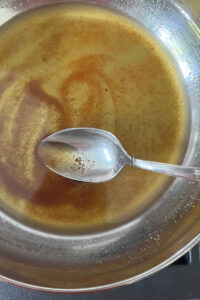
Once you see the butter is turning a golden brown or if you see brown bits forming on the bottom of the pan, remove it from the heat. Transfer the butter to a bowl immediately to stop the cooking.
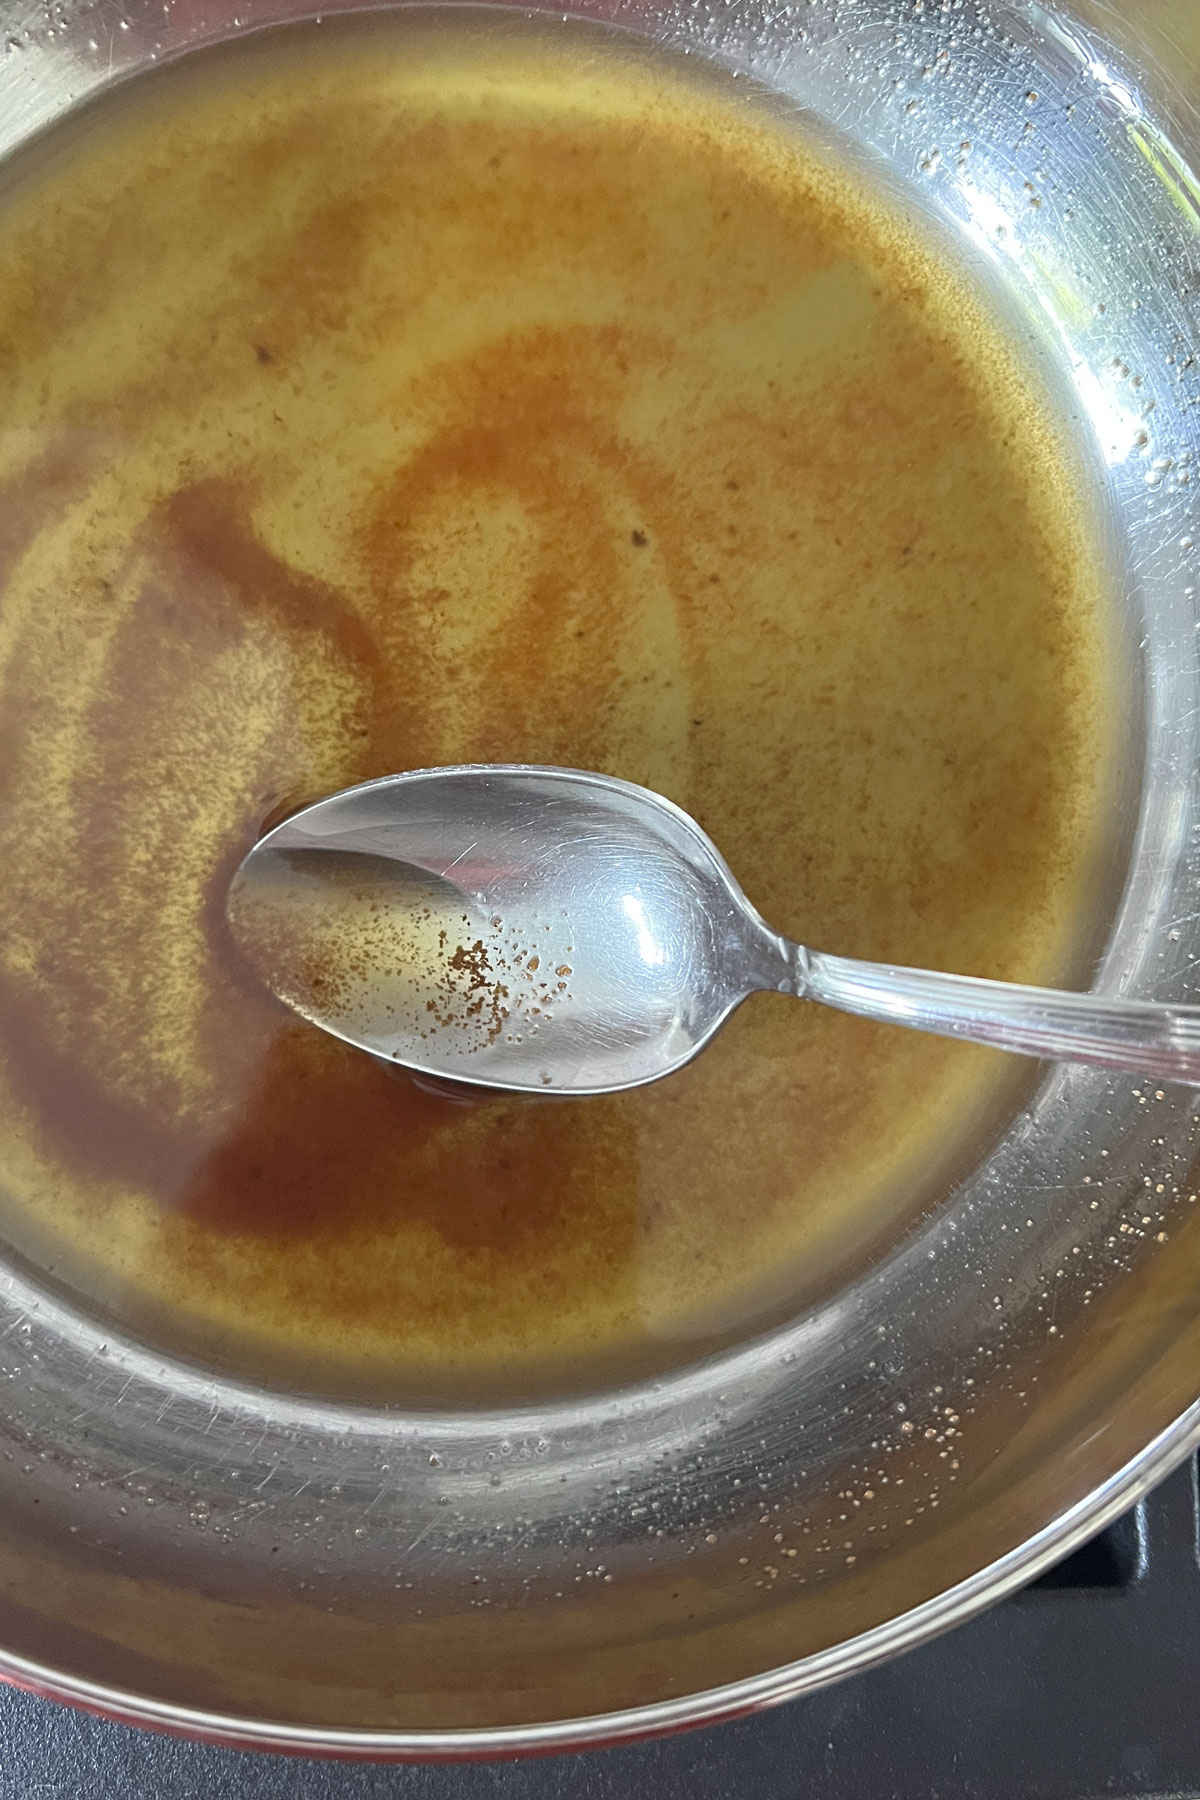
Those brown solid bits are the cooked milk solids and hold a lot of nutty flavor so be sure to transfer this along with the liquid brown butter.
Tips:
Do not walk away from the stove. Just like caramel, it goes fast once the process begins. If it gets too dark, you will have black butter or burnt butter! If you reach this point, you may have to start over because burnt butter will taste very bitter.
For adding browned butter to recipes, measure the butter after cooking. There is some loss of moisture, so it’s always good to make a little extra and then weigh it out. For my baked goods, I usually add an extra tablespoon for every cup of butter that is browned.
How to Brown Butter
Nutty and aromatic, browned butter will add depth to your favorite recipes and takes only a few minutes to prepare.
Ingredients
- ½ cup unsalted butter
Instructions
- Cut the butter into small uniform sized pieces. This will help it melt evenly.
- Spread the butter pieces in a skillet that is light in color. Avoid dark non-stick pans.
- Have an empty heatproof bowl or container ready next to the stovetop. Place the skillet on low to medium heat and stir the butter continuously.
- The butter will begin to bubble and foam. After about 5-7 minutes it will start to turn a golden color and you will see darker specks on the sides and bottom of the pan.
- Remove the pan from the heat and immediately transfer the butter to a bowl or glass container to stop the browning of the butter.
- Store or use as desired.
Notes
Quantity: You can use whatever amount of butter your recipe calls for but try not to do more than 1 cup at a time for best results.
Storage: Once the butter has solidified, store it in an airtight container in the refrigerator for up to a week or in the freezer for up to 3 months.




Comments
No Comments