Properly preparing a cake pan is essential to getting the perfect cake. Nothing is worse than having spent time baking a cake that ends up sticking to your pan. Follow these steps on how to grease a pan and avoid getting yourself into that sticky situation!
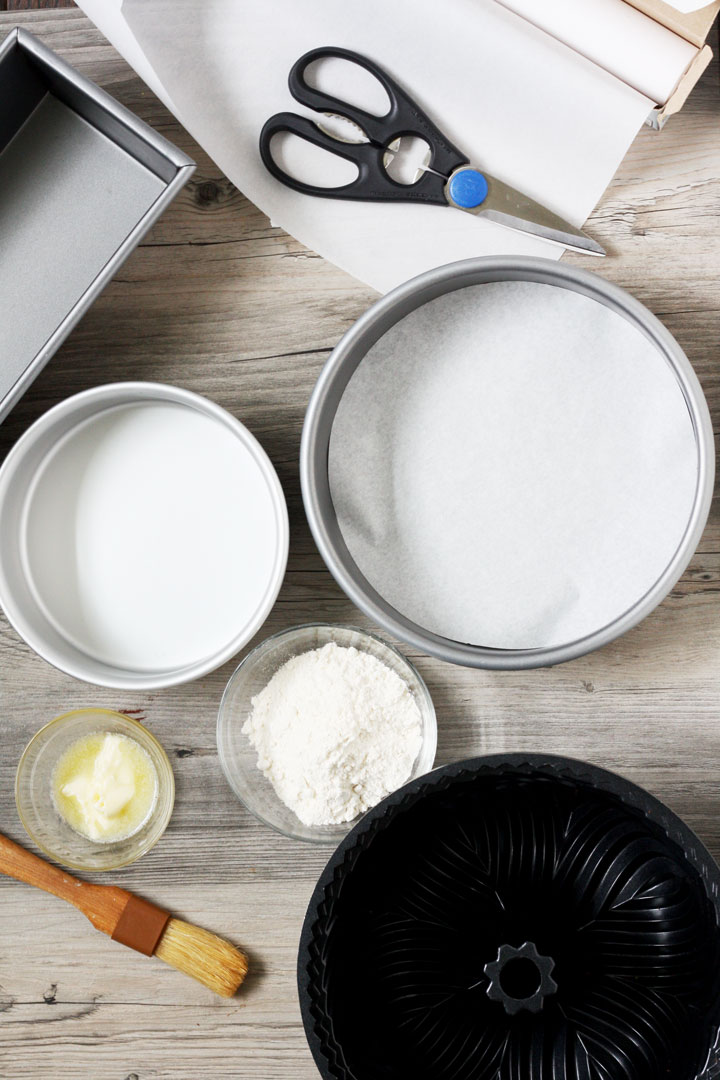
Always, always prepare your pan before you begin to make any kind of batter! There is a reason why cake recipe instructions always state to prepare your pan in the very first step.
Many batters lose their volume if you let them sit around and then you end up with a cake that is not fluffy. Preparing the pan first allows you to pour the batter into the pan and get it into the oven quickly before it has time to deflate.
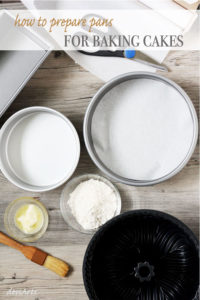
You will need the following items: melted butter, a pastry brush, parchment paper, and flour (or cocoa powder for chocolate cakes).
Step 1: How to Grease a Pan
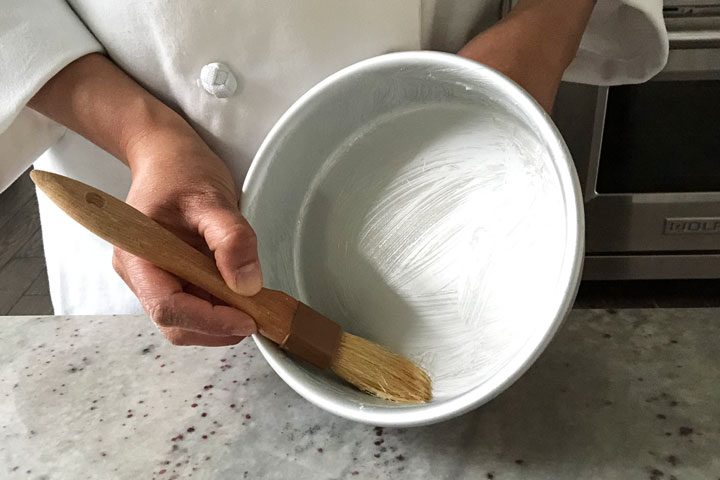
Melt a bit of butter in a small bowl and use a pastry brush to coat the bottom AND sides of the cake pan with butter. A pastry brush will make it easier to get into any corners or into small crevices of detailed shaped pans.
I’ve used regular pastry brushes and silicone brushes and I highly recommend getting one if you make cakes often. However, if you don’t have a brush, you can use your fingers or a paper towel.
Step 2: How to Line the Bottom of your Cake Pan with Parchment Paper
(Skip if using a pan that does not have a flat bottom such as a fancy bundt pan)
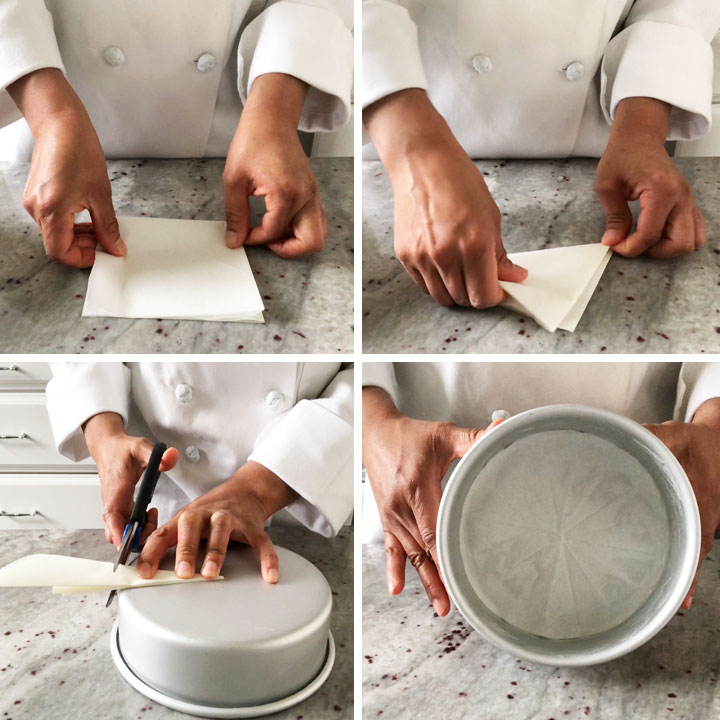
While a pastry brush is not essential, parchment paper is a must have in any kitchen! Get some because trust me you will find many other uses for it!
To easily cut out a circle, use a square piece of parchment that is slightly larger than the pan. Fold it into quarters and then fold the quarter into a triangle twice. Place the tip of the triangle on the center of the pan and trim of the edge using the pan as your guide. Unfold the paper and you have a perfect circle the size of your pan!
Step 3: How to Flour Your Pan
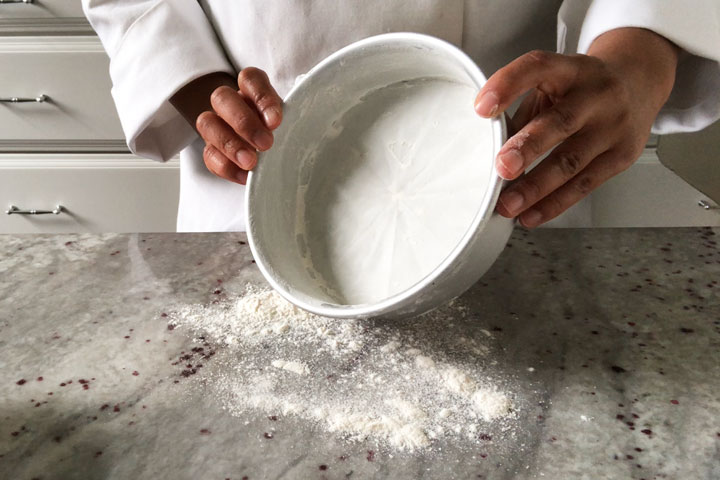
Greasing without flouring may make the pan slippery and not allow the cake to rise to its full potential. To flour the pan, place a spoonful of flour in the pan and turn the pan on the side all around so the flour coats the sides. Then, turn the pan upside down and give it a few taps to remove the excess flour. For this picture, I did it over my counter to get a nice shot but I always do it over my trash can to save myself from cleaning a mess!
TIP: Use cocoa powder instead of flour when baking chocolate cakes!
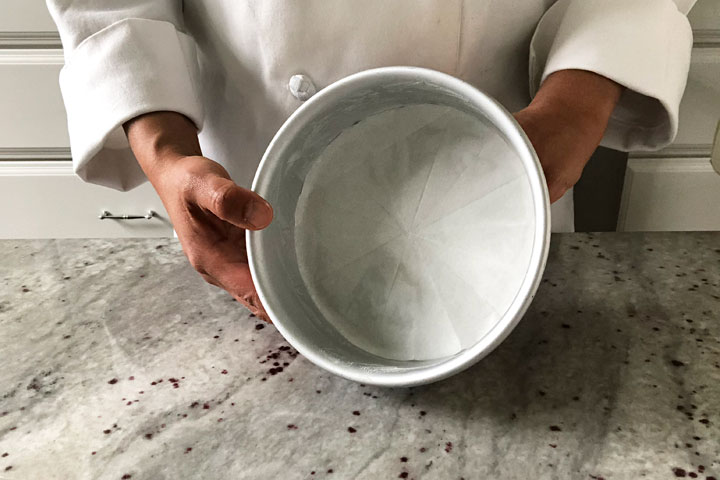
And there you have it! A perfectly prepped cake pan that’s ready to go! Now that you know how to grease a pan properly, check out these cake recipes for inspiration and go bake a cake! Got more questions? Leave me a comment below and I'll get back to you!
Chocolate Stout Cake with Coffee Butter Cream


Pippa says
Do you need to butter the parchment paper as well, before you flour the pan? So, the layers would be: butter, parchment, butter, flour. Thank you.
Urvashee says
Hi Pippa,
I never butter the parchment paper after placing it in the pan. It's already a non-stick surface so it's usually fine.