

Melted snowman cookies are the easiest snowman cookies to decorate. No steady hand required.

Melted snowman cookie are the easiest snowman cookies to decorate because melted snowmen are supposed to be a little messy! A scarf not perfectly in place, a missing eye, random branches...it's all good.
You don't need a perfectly steady hand for any of it. You pipe a puddle of icing in any shape, set a marshmallow on top for the head, and add the face. It can be a perfect circle but it doesn't have to be. I'll show you exactly how in step by step instructions and a video.
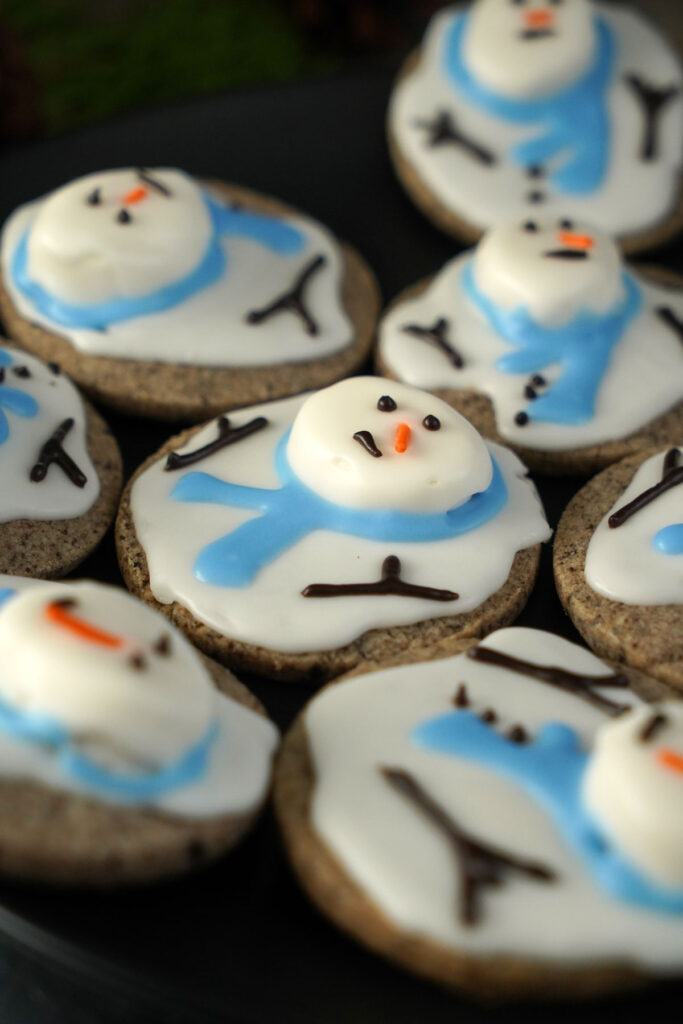
What You Need for Melted Snowman Cookies
Baked Cookies
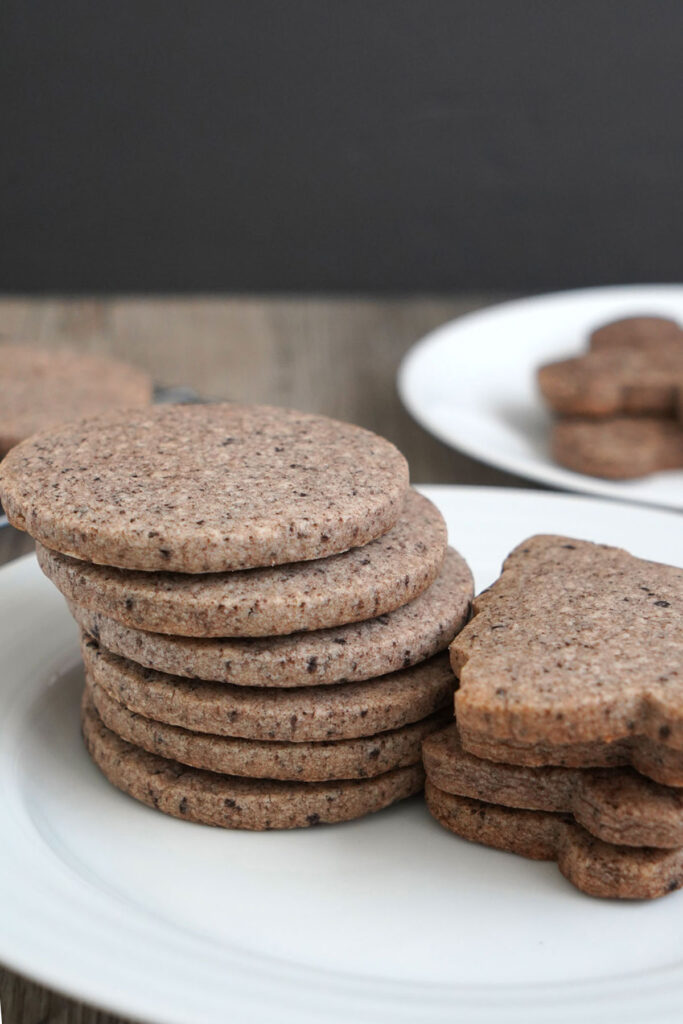
Cookies can be any shape as long as they are flat. For my cookies, I used my cookies and cream sugar cookie dough (because it looks like dirty snow) but you can also use a classic sugar cookie dough or store bought mix.
Cookie Icing
Make one batch with medium consistency. You can use my easy cookie icing recipe or your own.
Make black icing for the eyes, mouth, buttons and branches. Choose any color or colors for the scarf. I used an orange sprinkle for the nose but if you are using icing for the nose, you will need orange.
To dye my icing I used all natural food dye gels. To create a natural black icing, I mixed in some black cocoa powder. This is a trick I use to make black buttercream too!
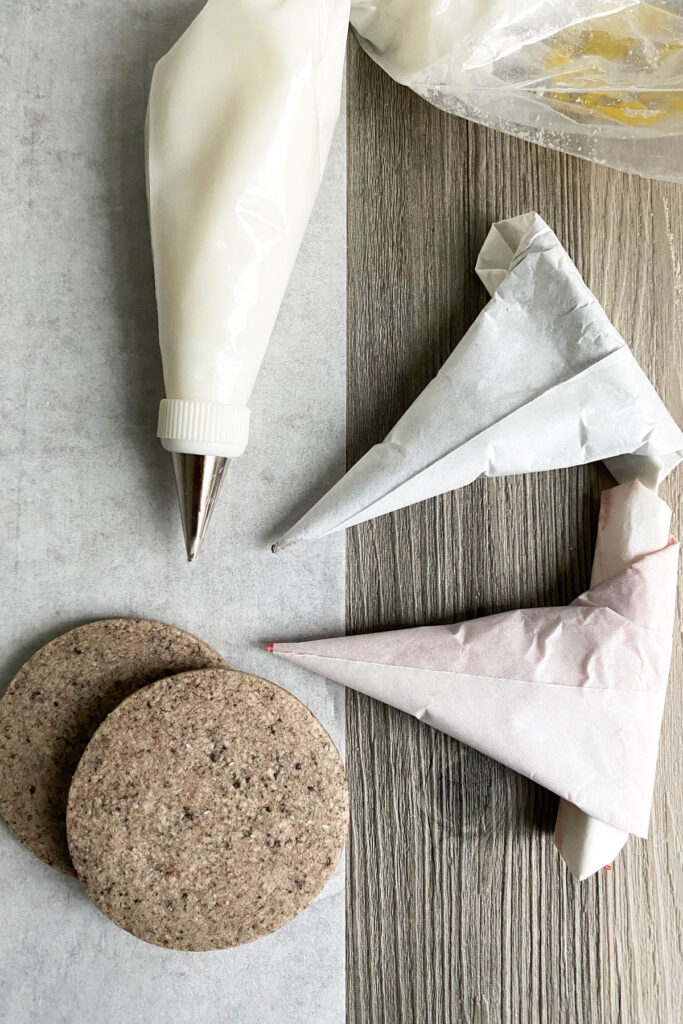
Piping Bags
If you have disposable piping bags and #1 or #2 tips, you can fill those. If you don't, you can also make a DIY piping bag for icing out of parchment paper. This is my preferred way to ice cookies because it gives me more control.
Marshmallows
A marshmallow is used as the mound for the snowman's head. You can cover it in icing or leave it as an exposed marshmallow. Use large marshmallows and cut them into thirds so that each third is a circular shaped disc. Scissors work best!
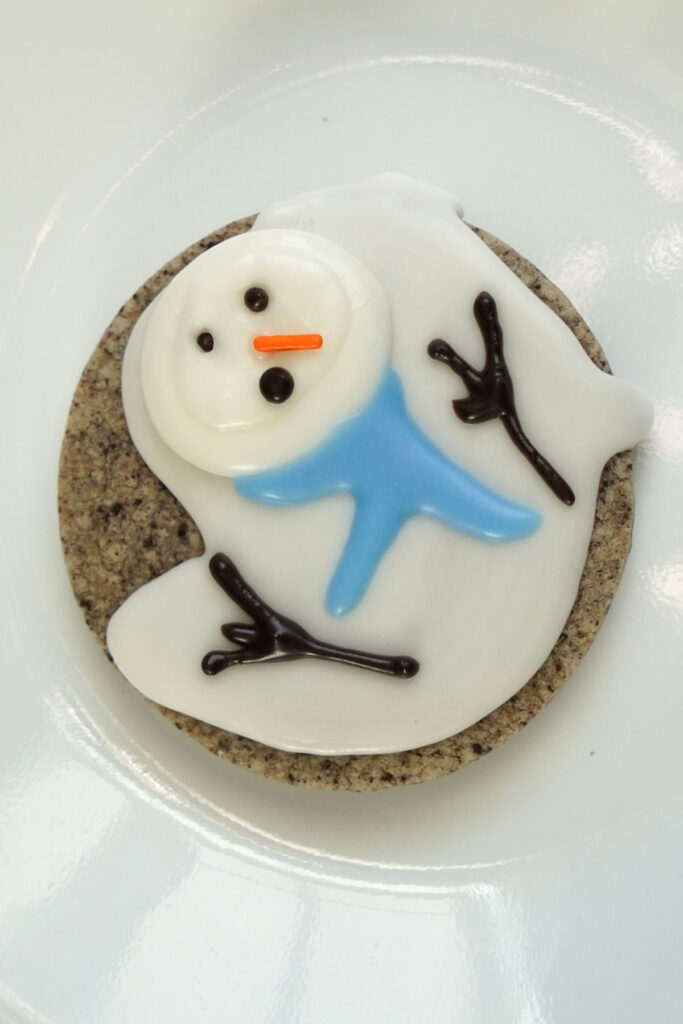
If you don't want to use marshmallows, you can always make a mound of icing like I did on the cookie below. However, make sure the base icing is dry before making a mound or the icing will just sink into the rest of the surrounding icing.
Cookie Sheet or Parchment Paper
The cookies will need to dry after you apply the white icing and after you are done all decorating. Lay them flat and single on plates, a large cookie sheet, or parchment paper.
How to Decorate Melted Snowman Cookies
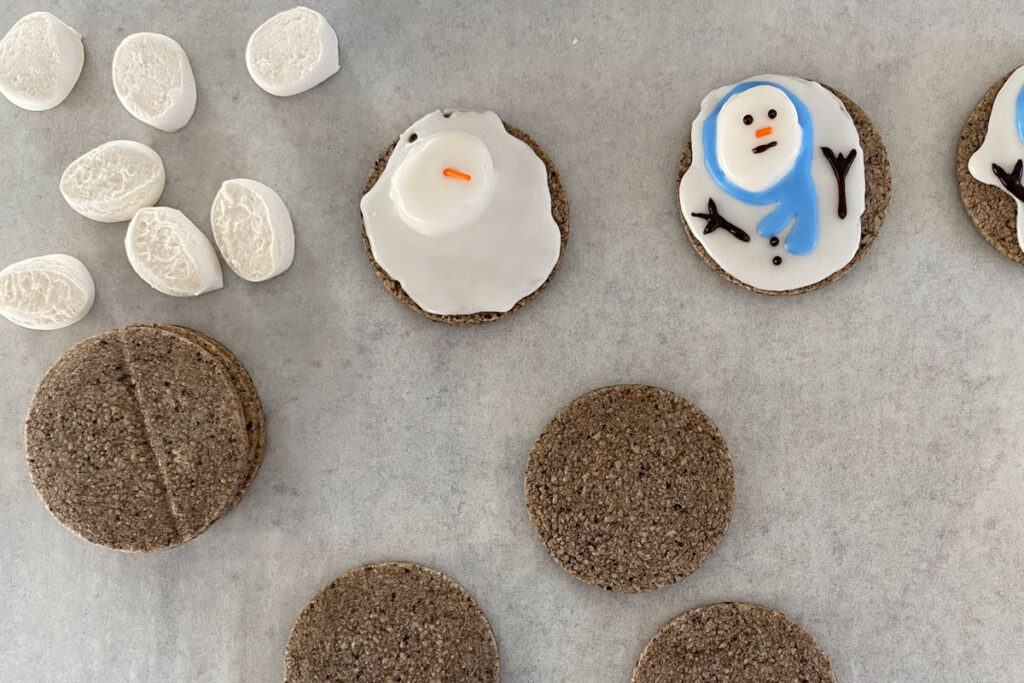
Step 1: Pipe the base
Outline and then fill in the base of your cookie. Use the shape of your cookie or draw any shape to fill in. It helps to use a bigger icing tip for filling in here. A number 2 tip will work nicely for both outlining and filling in. You want a medium cookie icing consistency so it settles smooth but holds its edge.
Step 2: Add the marshmallow head
Place a piece of marshmallow on top of the wet icing.
Step 3: Cover the marshmallow (optional)
Add more icing over the top of the marshmallow. This is what I have done in the photos for a more finished look. If using a sprinkle for a carrot nose, you will want to add it now while it is wet otherwise add the orange icing in step 5.
Step 4: Let the base dry
Let the white icing dry. It does not need to be completely dry but it should be dry enough so that more added icing on top does not sink into the white icing.
Step 5: Add the scarf and nose
Pipe around the marshmallow to create a scarf and draw a nose if using orange icing.
Step 6: Pipe the face and branches
With the black icing, add snowman's eyes, mouth and branches.
I suggest doing each step for ALL of the cookies before proceeding to the next step, so your first melting snowman is dry by the time you circle back to it.
Marshmallow Tips
The marshmallow is what makes these melted snowman cookies so easy, so a couple of notes on using them.
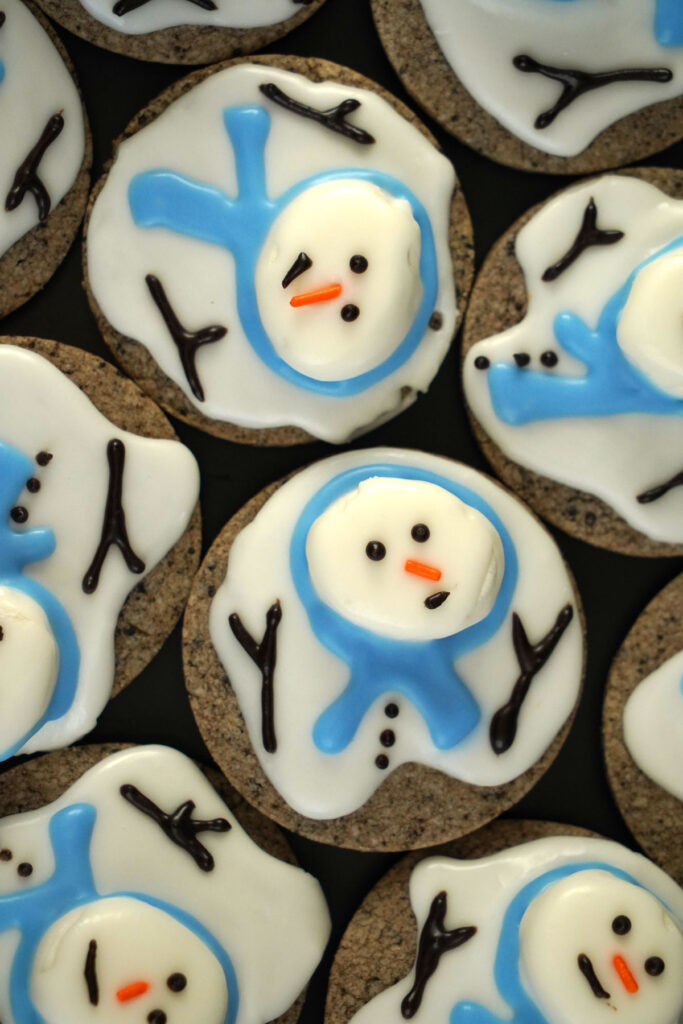
For a more realistic melted snowman look, cut large marshmallows into thirds with scissors, not a knife. Scissors give you clean round discs, and dusting the blades or dipping them in confectioners' sugar keeps the marshmallow from sticking. Each large marshmallow makes three heads, so one bag goes a long way.
Gently press the disc onto the base while the white icing is still wet so it anchors as the icing dries. You can leave it exposed for a snowman whose head is peeking out of the snow, or pipe a thin layer of white icing over the top for a fully snow-covered look.
Make Ahead, Drying and Storage
Melted snowman cookies keep well, and every stage can be done ahead.
The dough can be rolled and refrigerated for up to 3 days or frozen for up to 3 months. Baked, undecorated cookies keep about a week in an airtight container, or up to 2 months in the freezer. Decorate after they thaw.
Once decorated, let the cookies dry uncovered overnight so the icing sets firmly enough to stack. Then store them in an airtight container between layers of parchment for 3 to 5 days.
Melted vs. Cut Out Snowman Cookies
These melted snowman cookies are the no-skill option: a puddle, a marshmallow, and a few dots of black icing. If you want a snowman with a bit more piping and a pretty scarf, try my snowman cut out cookies instead. Both use the same cookie icing and the same black cocoa trick for the eyes and buttons, so you can make a batch of each for a decorated cookie platter.

Melted Snowman Cookies
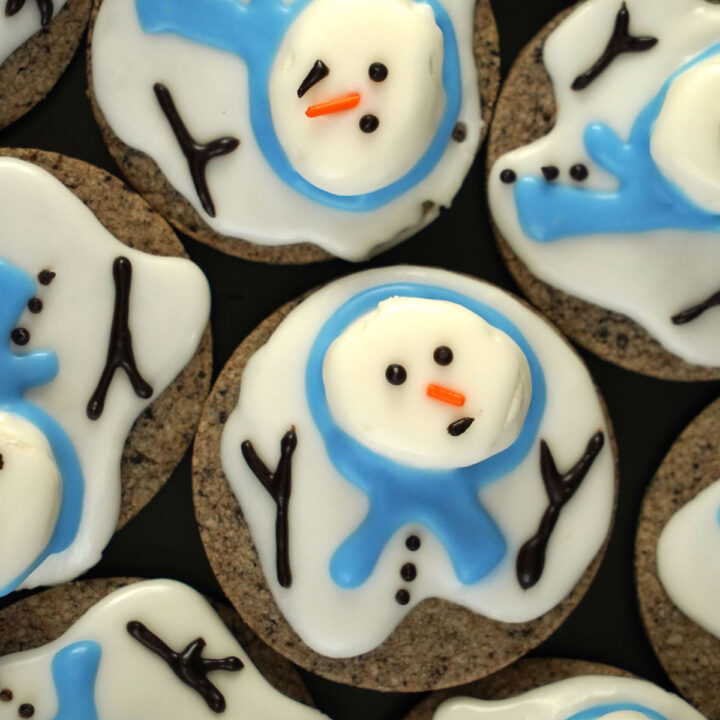
Melted snowman cookies are the easiest snowman cookies to decorate, no steady hand or piping skills needed. A marshmallow head, a puddle of icing, and a black cocoa icing for the details instead of dye.
Ingredients
Base
- 1 batch cookies and cream sugar cookie dough, or plain rolled sugar cookie dough — about 24 three inch cookies. (You can use a store bought dough too but the yield will vary)
Cookie icing
- 2 cups confectioners' sugar
- 3-4 tablespoons milk or water
- 1 teaspoon black cocoa powder (for the black icing)
- gel food coloring for the scarf
Decorating
- large marshmallows (about 8, cut into thirds)
- orange sprinkles, or orange icing for the nose
Instructions
- Make the icing. Stir the confectioners' sugar with milk added a teaspoon at a time to a medium consistency. Set aside about ½ cup for the black icing and stir in the black cocoa powder. Tint another ½ cup portion with gel color for the scarves. Leave the rest white.
- Fill a parchment cone or bag with white icing, and separate cones or bags with the black and scarf colors, each fitted with a #1 or #2 tip.
- Cut the marshmallows into thirds so each piece is a round disc. Scissors work best.
- Lay the cookies out on parchment or sheet pans. Outline and fill the base of each cookie with white icing, using any round or irregular puddle shape.
- While the icing is still wet, press a marshmallow disc onto each cookie for the head. Add more white icing over the marshmallow if you want it covered, and add an orange sprinkle nose now if using sprinkles. Let dry until the surface is matte.
- Pipe a scarf around the neck of each marshmallow in your scarf color, and add an orange icing nose now if using icing instead of a sprinkle.
- With the black icing, add the eyes, mouth, buttons and branch arms to each cookie.
- Let dry uncovered overnight.
Notes
EQUIPMENT NEEDED: parchment cones or 12 inch disposable piping bags with #1 or #2 tips, one per color; scissors (for the marshmallows); 1–2 clean toothpicks; parchment paper or sheet pans.
YIELD and TIME: If using my rolled sugar cookie dough recipe, you should be able to make at least 24 snowman cookies. The time listed in this recipe is an estimate and depends on how quickly you are able to pipe icing.
DRYING: Let them dry in the open overnight.
STORAGE: airtight container at room temperature for 3-5 days or freeze fully dried in an airtight container for up to 1 month.




Comments
No Comments